
Keeping your countertop ice maker clean is essential for ensuring the ice it produces is safe for consumption and for maintaining the longevity of the machine. In this comprehensive guide, we'll walk you through the process of cleaning your countertop ice maker with ease and efficiency.
Key Takeaways:
- Understand the importance of regular cleaning for your ice maker's performance and hygiene.
- Learn a step-by-step process to effectively clean and maintain your countertop ice maker.
- Discover tips and tricks to prevent mold and mineral buildup in your machine.
Understanding Your Countertop Ice Maker
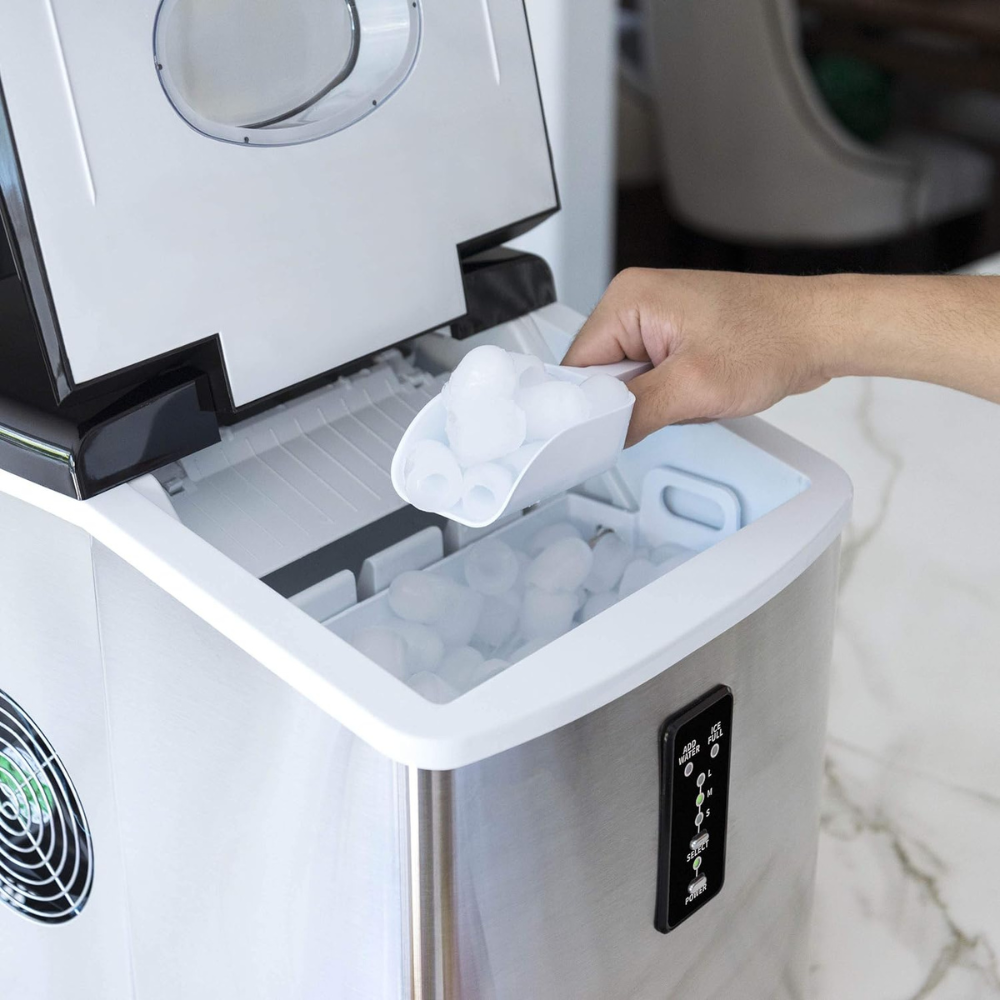
Before diving into the cleaning process, it's crucial to understand how your countertop ice maker works. These appliances are compact, convenient, and designed to fit on most kitchen counters. They typically consist of a water reservoir, an ice tray where the ice is formed, and a mechanism to release the ice into a storage bin. Knowing the components of your ice maker will help you clean it thoroughly and with care.
Regular maintenance of your ice maker is not just about cleanliness; it's also about performance. A clean ice maker will function more efficiently, producing ice faster and with less energy consumption. This not only saves you time but also reduces your electricity bills.
Preparing for Cleaning
Before you start the cleaning process, make sure to unplug your ice maker from the power source. This is a safety precaution to prevent any electrical hazards. Remove any ice or water that is currently in the machine. If your ice maker has a removable ice basket, take it out and set it aside. You'll want to clean this separately to ensure every part of your ice maker is sanitized.
Gather your cleaning supplies, which should include a soft cloth or sponge, mild dish soap, warm water, and a diy cleaning solution of equal parts water and distilled white vinegar. The vinegar will act as a natural disinfectant and descaler, helping to remove any mineral buildup from the water used in the machine.
Internal Cleaning: Step-by-Step
Start by wiping down the interior surfaces of your ice maker with a soft cloth or sponge dampened with warm soapy water. Be gentle to avoid damaging any components. Pay special attention to the area around the ice-making tray, as this is where water and ice come into direct contact.
After soaping, rinse the interior with a cloth dampened with clean water to remove any soap residue. Next, apply the vinegar solution to all interior surfaces, including the ice-making tray and the water reservoir. Allow the solution to sit for a few minutes to disinfect and break down any mineral deposits.
Cleaning the Exterior
The exterior of your countertop ice maker is just as important as the interior when it comes to cleanliness. Use a damp cloth with a few drops of mild dish soap to wipe down the outside of the machine. Be sure to clean the buttons and the area around the dispensing area, as these are high-touch zones that can harbor bacteria.
Rinse the exterior with a clean, damp cloth to remove any soap residue. You can then dry the outside with a soft towel or let it air dry. Keeping the exterior clean not only maintains the appearance of your ice maker but also contributes to the overall hygiene of your kitchen.
Descaling the Ice Maker
Descaling is an important part of the cleaning process, especially if you live in an area with hard water. The vinegar solution you've prepared will serve as an effective descaler. After applying it to the interior, let it sit for about 30 minutes to an hour, depending on the level of buildup.
After the descaling period, rinse the interior thoroughly with water to ensure no vinegar taste is left behind. If your ice maker has a self-cleaning cycle, you can run it with the vinegar solution to help break down the mineral deposits.
Cleaning the Ice Bin and Accessories
The ice bin and any scoops or accessories that come with your ice maker should also be cleaned regularly. Wash these items with warm soapy water, rinse them thoroughly, and allow them to dry completely before reassembling your ice maker.
If your ice bin is dishwasher safe, you can opt to clean it in the dishwasher for convenience. However, always check the manufacturer's instructions to ensure that dishwasher cleaning is appropriate for your specific model.
Reassembling and Restarting the Ice Maker
Once all parts of your ice maker are clean and dry, you can begin reassembling the machine. Make sure to place the ice bin back in its proper position and ensure that all components are securely in place.
Plug your ice maker back into the power source and restart it. It's a good idea to discard the first batch of ice after cleaning, as it may still contain traces of vinegar or cleaning solution.
Maintaining Your Ice Maker
To keep your countertopice maker in top condition, it's recommended to clean it at least once every three to six months. If you use it frequently, have hard water, or notice any changes in the ice quality, you may need to clean it more often.
Regular maintenance, such as wiping down the exterior and emptying the ice basket daily, can also help prevent the buildup of mold and bacteria. Always ensure that the water used in the ice maker is clean and fresh to maintain the quality of the ice produced.
Troubleshooting Common Issues
If you encounter issues with your countertop ice maker, such as strange tastes or odors in the ice cubes, it may be a sign that a thorough cleaning is needed. Additionally, if the ice maker is not producing ice as efficiently as before, check for any mineral deposits that may be blocking the water flow.
Consult your ice maker manual for troubleshooting tips specific to your model. If cleaning does not resolve the issue, it may be time to contact the ice maker manufacturer or a professional for further assistance.
Summary
Cleaning your countertop ice maker is a simple yet essential task that ensures the quality of your ice cubes and the longevity of your machine. By establishing a cleaning routine, and following this step-by-step guide, you can keep your ice maker hygienic and functioning at its best. Remember to clean regularly, descale as needed, and maintain the machine to prevent any potential problems.
FAQ Section
Q: How often should I clean my countertop ice maker? A: It's recommended to clean your countertop ice maker every three to six months. If you use your ice maker frequently or notice changes in ice quality, you may need to clean it more often.
Q: Can I use bleach to clean my ice maker? A: It's best to avoid using bleach as it can be too harsh and leave a residual taste. A solution of equal parts warm water and white vinegar is a safer and effective alternative for disinfecting and descaling.
Q: What should I do if my ice tastes funny after cleaning the ice maker? A: If the ice cubes have a strange taste after cleaning, ensure that all cleaning solutions have been thoroughly rinsed out. Discard the first batch of ice after cleaning, and if the taste persists, run a few ice cycles with fresh warm water before using the ice maker again.