
Have you ever dreamed of becoming a coffee connoisseur, brewing the perfect cup of coffee from beans you’ve roasted yourself? Well, it’s time to embark on an exciting adventure of home coffee roasting! Get ready to explore the art of selecting quality green coffee beans, mastering roasting techniques, and experimenting with blends and flavors to create your very own unique coffee experience. In this journey, you’ll learn how to roast coffee beans, ensuring the perfect taste every time.
Key Takeaways
- Choose quality green coffee beans for the best cup of joe
- Understand roast levels to get your desired flavor and aroma
- Invest in a dedicated roaster or use pan, oven or popcorn popper methods for roasting at home
Selecting Quality Green Coffee Beans
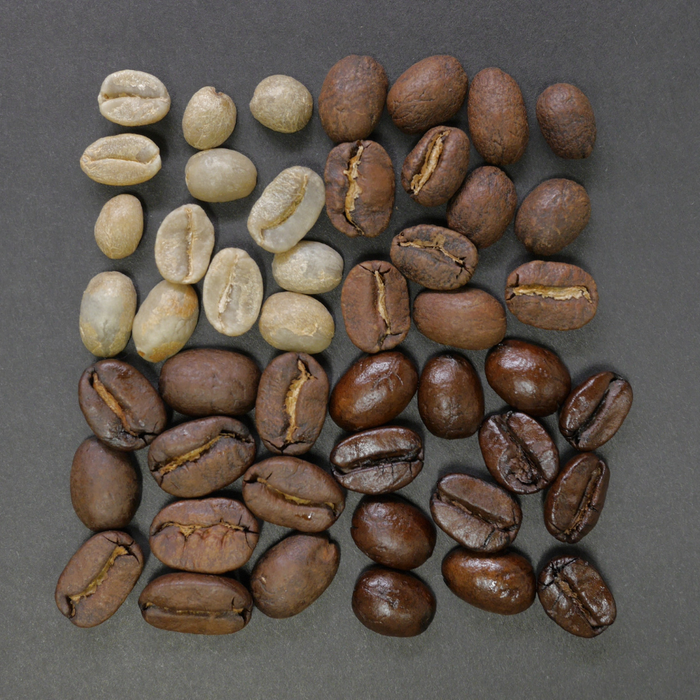
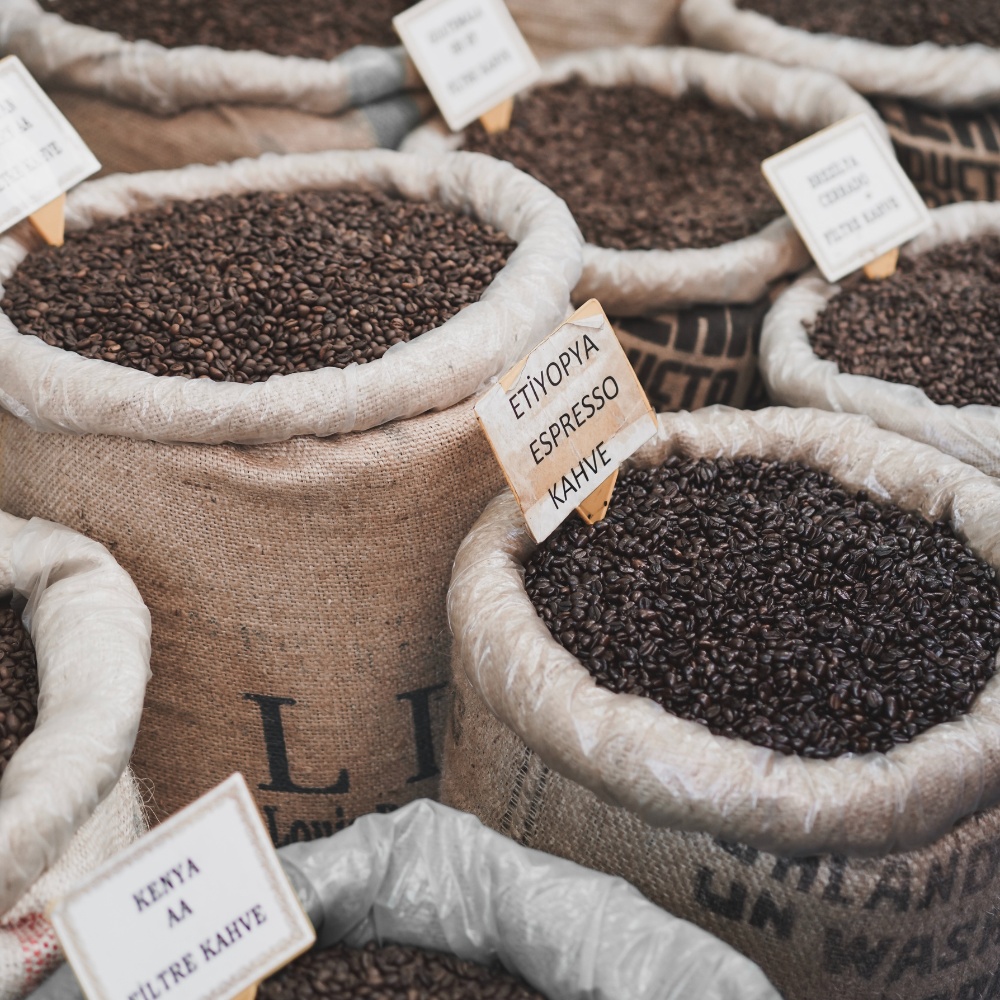
The journey to the perfect cup of coffee begins with high-quality green coffee beans. Each type of bean has its own unique flavor profile, even while still green, and roasting coffee beans won’t magically create flavors that weren’t already there. Origin, flavor profile, and freshness are vital when selecting green coffee beans for roasting at home, as they significantly influence the final taste of your coffee.
As the roasting process unfolds, green beans morph from a yellowish hue into a delightful brown, releasing a grassy scent that gradually transitions into the distinct aroma of coffee. Stale beans can result in a less flavorful cup, so it’s paramount to choose your own beans that are both high in quality and fresh.
Remember, roasting coffee beans is only the first step in unlocking their hidden flavors. Grinding and brewing your own coffee beans will further enhance the taste of your coffee, but the roasting process can’t add flavors that aren’t already present in the green beans.
So, focus on finding quality green coffee beans with the desired origin and flavor profile to start your home coffee roasting journey on the right foot.
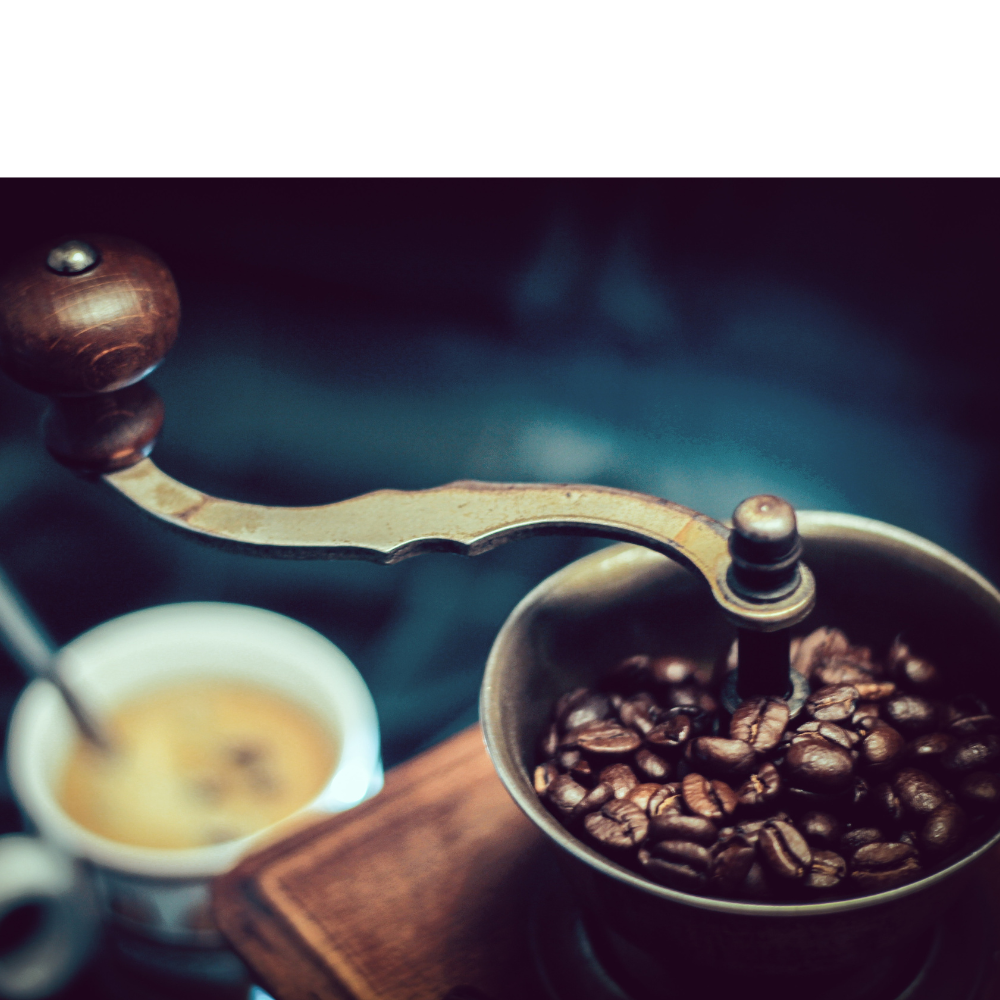
Understanding Roast Levels
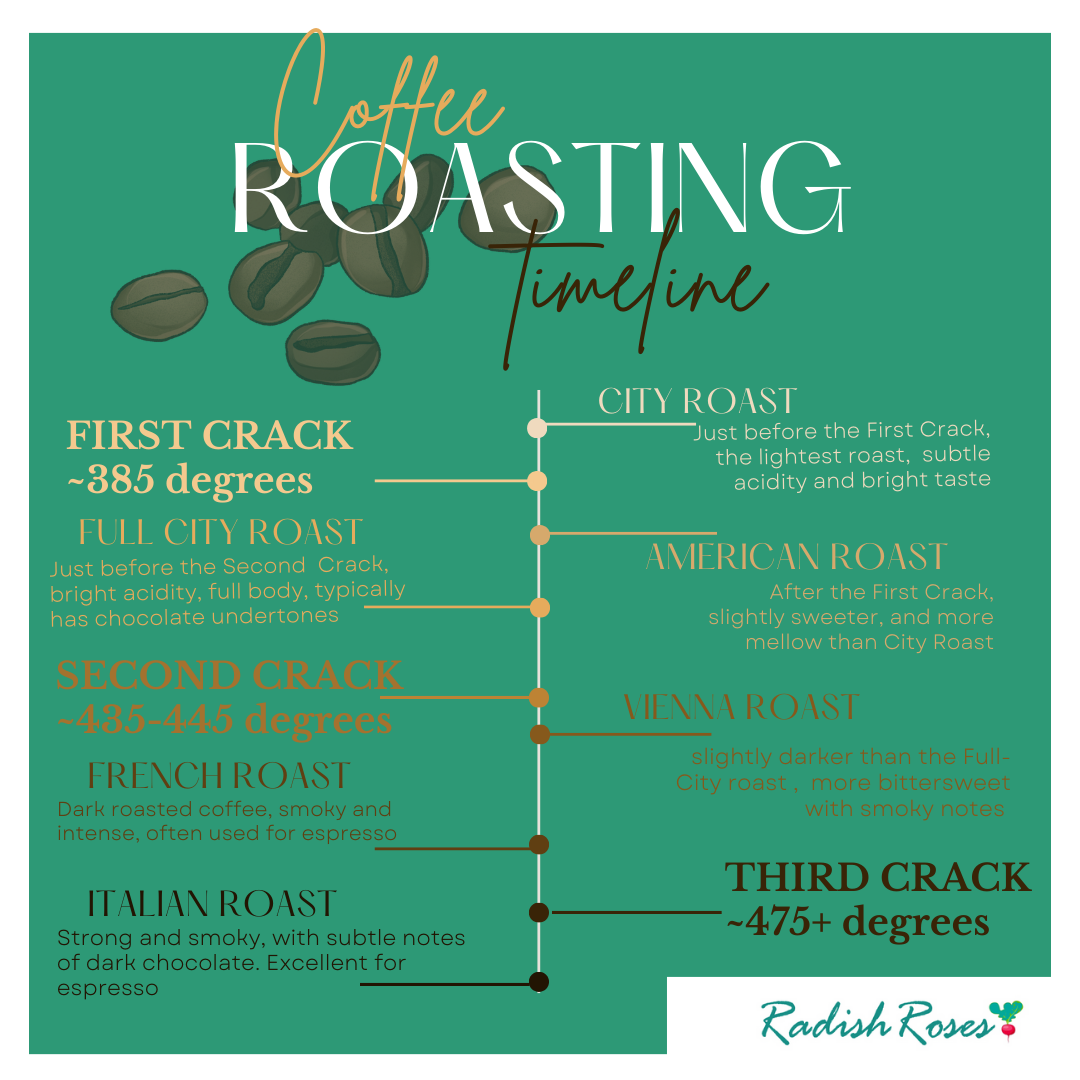
Roasting coffee beans is all about using heat to transform the green unroasted beans into the well-known brown roasted coffee beans. The roast level you choose will have a significant impact on the flavor and aroma of your coffee. Generally, there are three main roast levels: light, medium, and dark.
A light roast retains more of the beans’ original flavors, while a dark roast provides a full-bodied flavor with a hint of sweetness. Roasting time varies depending on the method and the amount of beans you’re roasting, but it usually takes around 10 minutes for smaller batches and 16 minutes for larger batches. Understanding roast levels will help you achieve the desired taste in your coffee, whether you prefer a delicate light roast or a bold dark roast.
When home roasting, keeping a watchful eye on the beans’ color and aroma is key in determining the roast level. You can also listen for the “first crack,” which occurs when the beans reach a light roast and begin to make a gentle popping sound. By keeping a close eye on the beans and being attentive to their changes, you can ensure the perfect roast level for your personal taste.
Preparing Your Roasting Space
Ensuring safety and optimal roasting results requires careful preparation of your roasting space. Due to the smoke and odor generated during roasting, it’s optimal to have a well-ventilated area, ideally outdoors, to mitigate any smoke-related concerns.
By choosing an outdoor roasting space, you’ll not only create a safe environment but also avoid any lingering smells inside your home.
If you decide to roast your coffee beans indoors, make sure to keep the roasting equipment away from smoke alarms and ensure proper ventilation to minimize the risk of setting off the alarms. By taking these precautions, you’ll create a safe and efficient roasting space, allowing you to focus on the art of roasting coffee beans and achieving your desired flavor profile.
Roasting Methods Explored
There are numerous methods to choose from when roasting coffee beans, each with its own advantages and disadvantages. In the following subsections, we’ll explore:
- Pan roasting
- Oven roasting
- Popcorn popper roasting
- Using a dedicated coffee roaster
By understanding the pros and cons of each method, you’ll be able to select the one that best suits your needs, budget, and preferences.
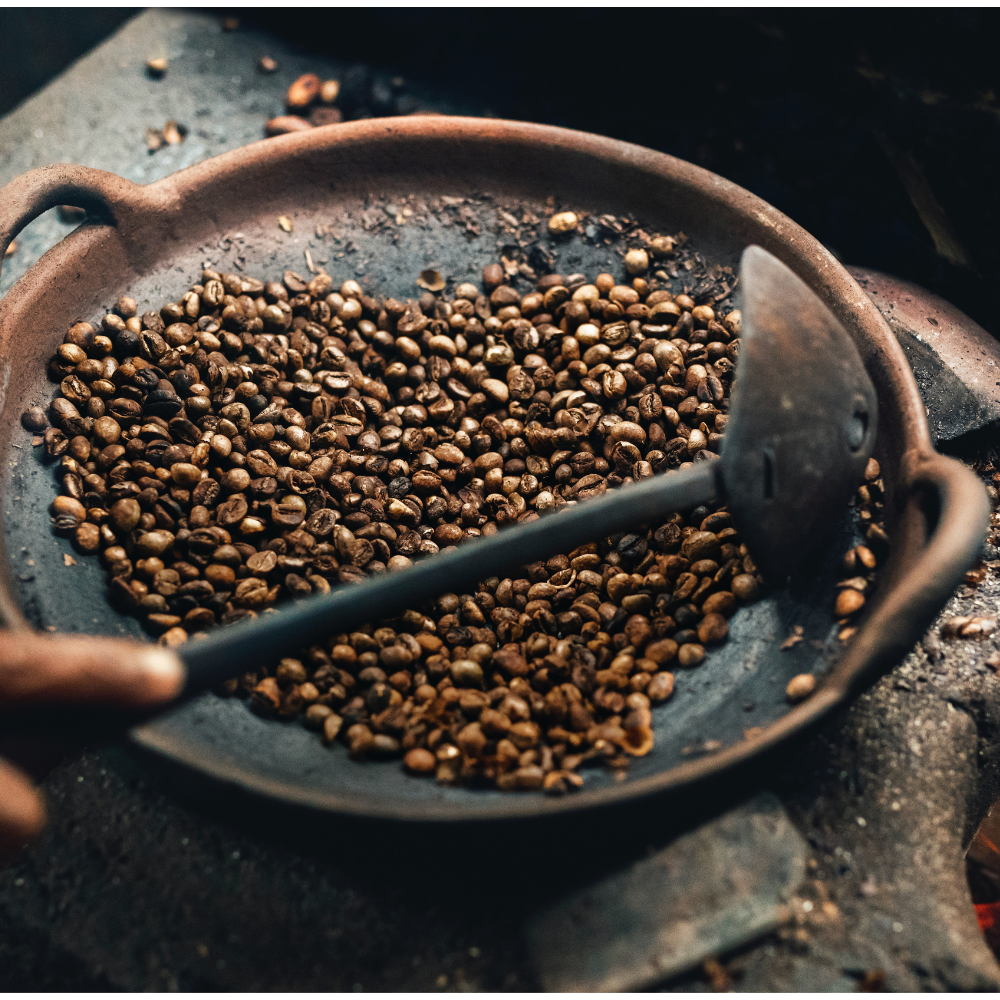
Pan Roasting
Pan roasting is a simple and affordable method to try your hand at roasting coffee beans. All you need is a pan, constant stirring, and keen attention to the color and aroma of the beans. To achieve a medium roast, which is recommended for pan roasting, closely monitor the beans as they change color and give off different smells.
Continuously stirring the roast beans during the pan roasting process is a crucial step to obtain an even roast. Once you’ve reached the desired roast level, immediately dump the beans into a metal colander to cool them down. Cooling the beans quickly prevents further cooking, preserving the desired roast level and flavor.
Pan roasting is an excellent way to start your home coffee roasting journey. With practice and patience, you’ll be able to master this method and enjoy the satisfying experience of roasting your own coffee beans. As you become more proficient in pan roasting, you may even be tempted to explore other roasting methods to further enhance your coffee roasting skills.
Oven or Air Fryer Roasting
Oven roasting is another method to consider when roasting coffee beans at home. Here’s how to do it:
- Preheat your oven to 500°F (260°C).
- Use a perforated oven tray with small holes or slots for better airflow and more even roasting results.
- Spread the beans evenly on the tray to avoid an uneven roast.
- Periodically shake the tray during the roasting process to promote even roasting of the beans.
- Closely monitor the color and aroma of the beans to determine the desired roast level.
- Oven roasting may require some practice to perfect, but once mastered, it can be a convenient and effective method for roasting coffee beans at home.
While air fryer or oven roasting may not offer the same level of control as other roasting methods, it’s still an excellent option for those looking to experiment with home coffee roasting. With a little trial and error, you’ll be able to achieve the perfect roast level suited to your taste preferences using your oven.
Popcorn Popper Roasting
Popcorn popper roasting is a popular method among home coffee roasting enthusiasts. This method requires attentive listening for the first and second crack to determine the roast level. To start, preheat the popcorn popper to around 360 to 370°F (182 to 188°C) and pour the green coffee beans into the popcorn popper.
Roasting coffee beans using a popcorn popper typically takes between 4 to 10 minutes, depending on the desired roast level. Agitating the beans by gently shaking the popcorn popper will ensure an even roast. As the beans roast, listen carefully for the first crack (a light roast) and the second crack (a darker roast) to gauge the roast level.
Popcorn popper roasting offers a unique and fun way to roast coffee beans at home. With practice, you’ll be able to perfect your roasting skills and enjoy the satisfaction of transforming green coffee beans into perfectly roasted beans using this unconventional method.
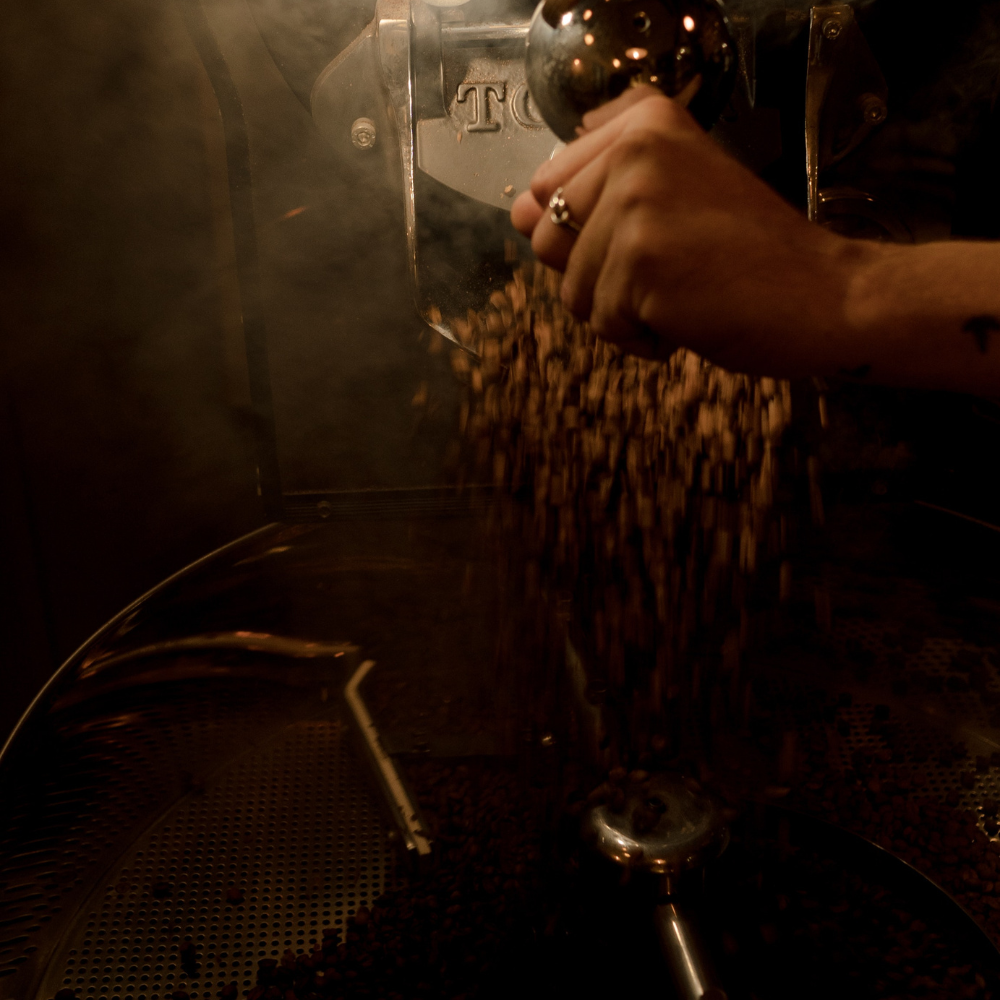
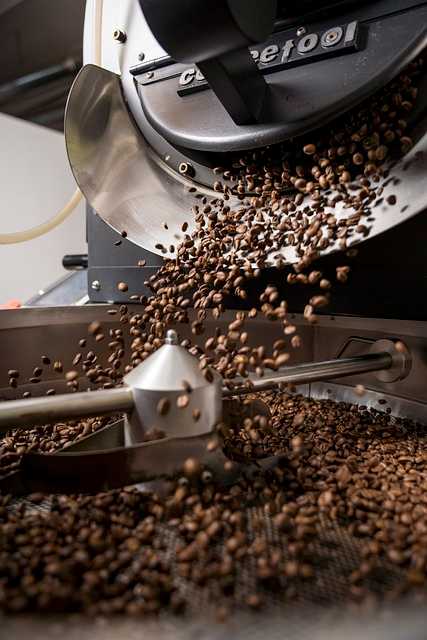
Dedicated Coffee Roaster
For those looking for more control and convenience, a dedicated coffee roaster might be the perfect solution. These devices are designed specifically for roasting coffee beans and offer various models to suit different budgets and preferences. Using a dedicated coffee roaster allows you to:
- Consistently achieve your desired roast level
- Have more control over the roasting process
- Experiment with different coffee bean varieties
- Enjoy the aroma of freshly roasted coffee in your home
To roast coffee beans using a dedicated coffee roaster, follow these steps:
- Add the raw beans to the roaster according to the specified amount in the manual.
- Set the temperature to the recommended 140°C (285°F).
- As the roast progresses, the sugars inside the beans will caramelize, making a cracking noise to signify the process.
- Monitor the roasting process with a dedicated coffee roaster, as most models come with built-in timers and temperature controls.
While a dedicated coffee roaster may come with a higher upfront cost, the convenience and control it offers make it an attractive option for coffee enthusiasts who are serious about their home coffee roasting journey. The investment in a dedicated coffee roaster will undoubtedly enhance your coffee roasting skills and lead to more consistent and enjoyable results.
Monitoring the Roasting Process
To achieve the perfect roast level and desired flavor profile, it’s pivotal to keep a close watch on the roasting process. During the roasting process, the beans will undergo color changes, emit various aromas, and produce a cracking sound as the water inside them evaporates.
The “first crack” occurs at around 180°C (355°F) when the beans reach a light roast level, and the “second crack” signifies a darker roast level. By observing the color changes and listening for the cracks, you can determine the optimal roast level for your personal taste preferences.
Using your sense of smell is another crucial aspect of monitoring the roasting process. As the beans roast, they will emit different aromas, such as grassy, floral, or even fruity scents. These aromas can serve as an indicator of the roast level and help you decide when to stop the roasting process, ensuring a perfect cup of coffee every time.
Cooling and De-gassing Your Roasted Beans
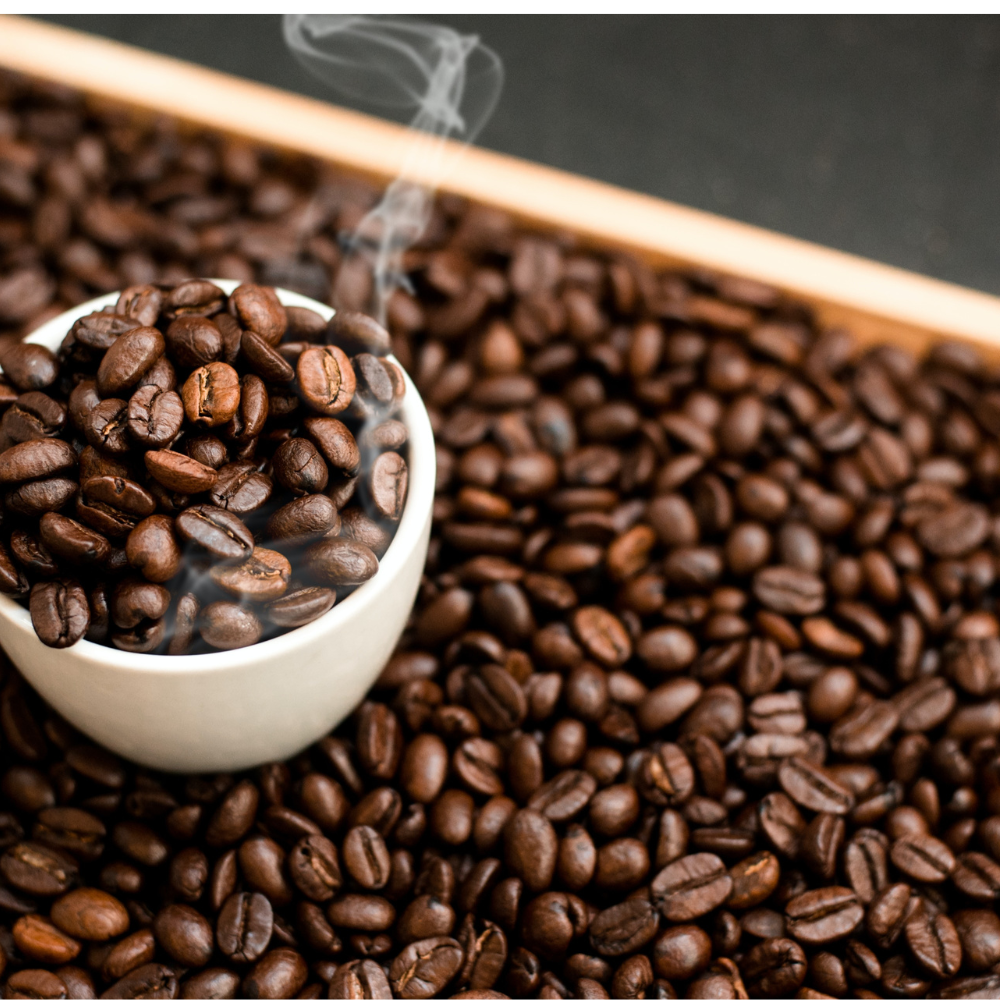
After reaching the desired roast level, it’s important to adequately cool and de-gas your roasted beans. Cooling the beans quickly is crucial to prevent further cooking and preserve the desired roast level and flavor. Shaking the roasted beans in a metal colander or stirring them with a wooden spoon will help speed up the cooling process.
De-gassing is the process where roasted coffee beans release carbon dioxide, which can affect the flavor and freshness of your coffee.
It’s recommended to let the beans sit out for 12 hours to de-gas after roasting, ensuring optimal flavor development and preservation.
Properly cooling and de-gassing your roasted beans not only enhances the flavor and aroma of your coffee but also ensures that you enjoy the best-tasting coffee possible.
By following these steps, you’ll be well on your way to enjoying a perfect cup of coffee brewed from beans you’ve roasted yourself.
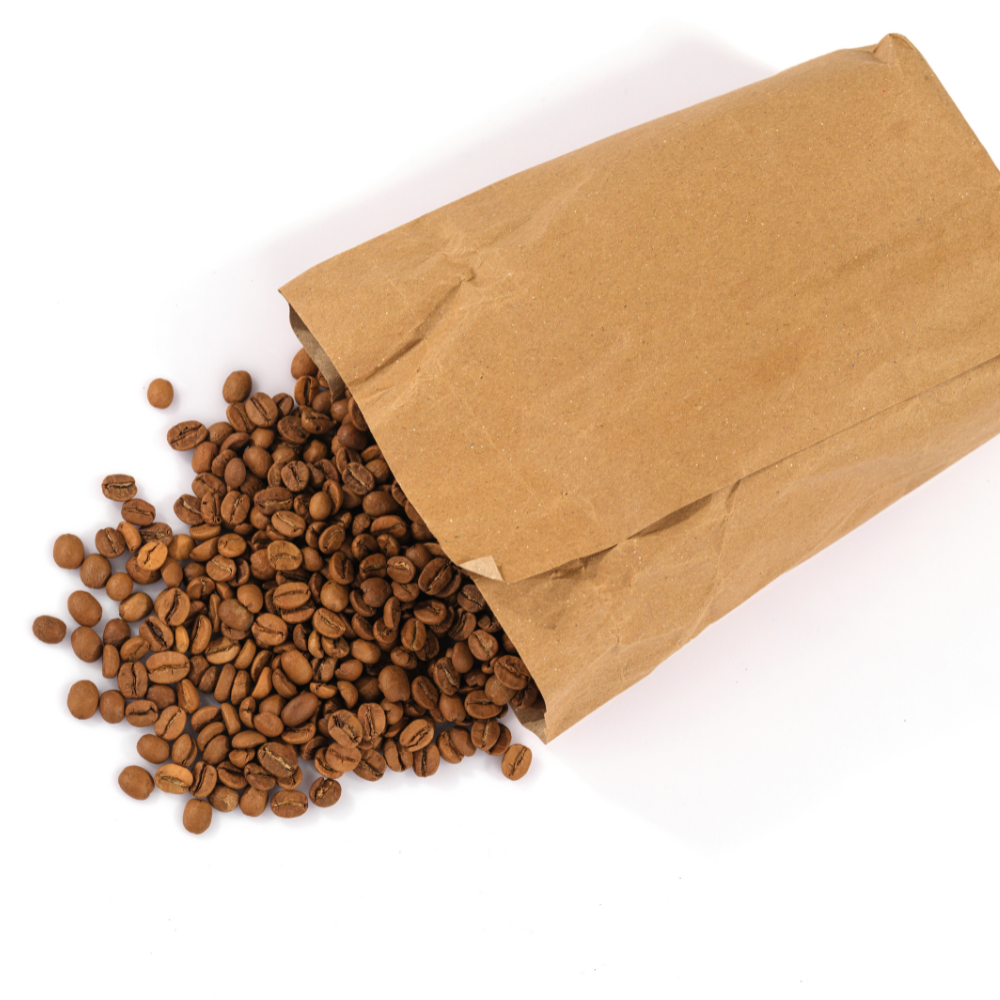
Storing Your Freshly Roasted Beans
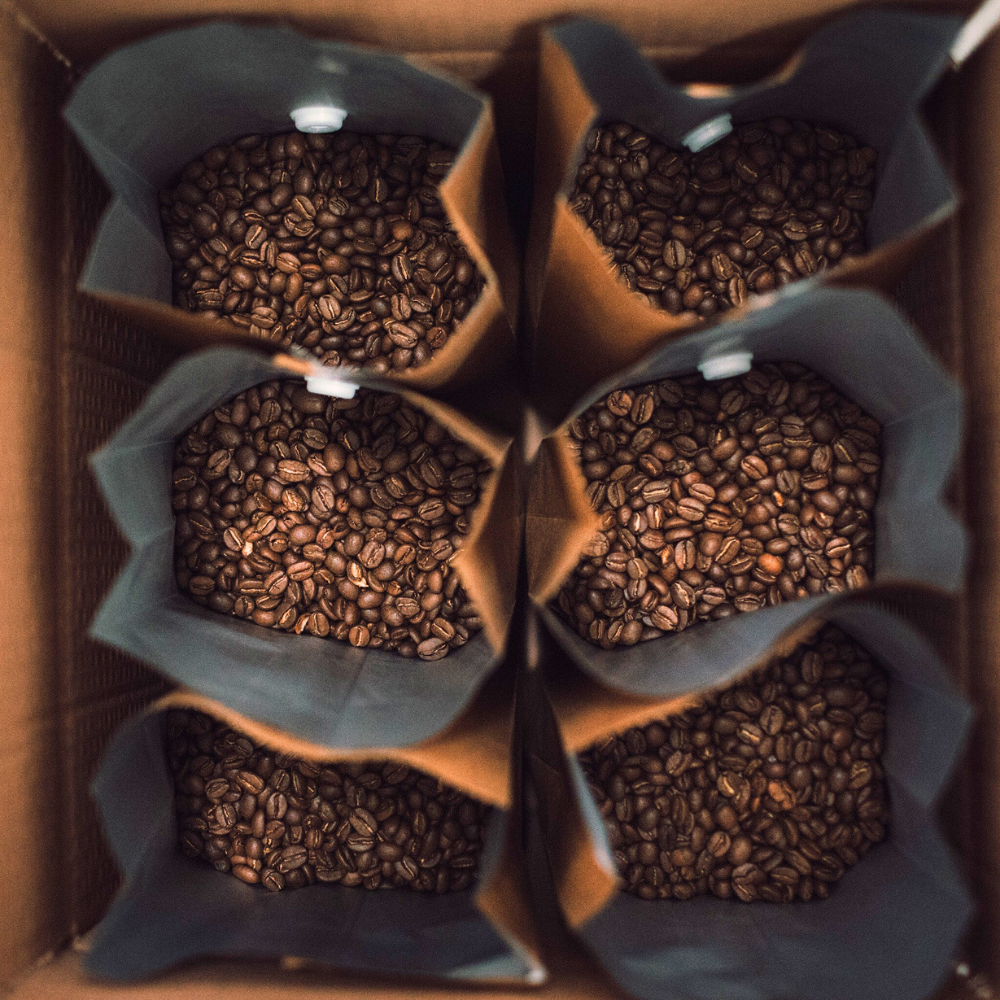
Proper storage of your freshly roasted beans is key to preserving their freshness and flavor. Airtight containers or vacuum-sealed bags are ideal for preserving your roasted beans, as they prevent exposure to air, moisture, and light.
Another option to consider is freeze-drying your roasted coffee beans. This process yields pure coffee crystals that can stay fresh for up to 20 years without any change in flavor. While this method may not be practical for everyday use, it’s an interesting option for those looking to preserve their coffee beans for long periods.
Regardless of the storage method you choose, taking the time to properly store your freshly roasted beans will ensure that you enjoy the freshest, most flavorful coffee possible. By investing in suitable storage solutions, you’ll be able to savor the fruits of your home coffee roasting labor for an extended period.
Grinding and Brewing Your Roasted Beans
Now that you’ve mastered the art of roasting coffee beans, it’s time to enjoy the fruits of your labor. Grinding and brewing your roasted beans within a week of roasting ensures maximum flavor and aroma in your coffee. Remember to:
- Grind your beans just before brewing to retain their freshness and enhance the taste of your coffee.
- Experiment with different grind sizes and brewing times to find the perfect combination for your desired flavor profile.
- Keep track of brewing times and make adjustments as needed to achieve the perfect cup of coffee.
By grinding and brewing your freshly roasted beans, you’ll be able to savor the unique flavors and aromas that home coffee roasting has to offer. Revel in the satisfaction of knowing that you’ve created a perfect cup of coffee from beans you’ve roasted yourself, and enjoy the unparalleled taste of freshly roasted coffee.
Ethical Considerations: Eco-friendly and Fair-trade Coffee
Embarking on your home coffee roasting journey also entails considering the ethical implications of your choice of coffee beans, prioritizing eco-friendly and fair-trade options. Eco-friendly coffee beans are grown and harvested sustainably, with minimal environmental impact, while fair-trade coffee beans ensure that farmers receive fair pricing and labor practices.
By choosing eco-friendly and fair-trade coffee beans, you’re supporting sustainable farming practices that conserve water, reduce soil erosion, and minimize the use of pesticides and fertilizers. Additionally, fair-trade coffee guarantees that farmers earn a living wage and work in safe environments.
Incorporating ethical considerations into your coffee roasting journey not only ensures a better-tasting cup of coffee but also promotes a positive impact on the environment and the lives of coffee farmers. By choosing eco-friendly and fair-trade coffee beans, you’re actively contributing to a more sustainable and equitable coffee industry.
Experimenting with Blends and Flavors
With home coffee roasting, a myriad of possibilities for experimenting with different bean blends and flavors unfold. By trying various combinations of coffee beans, you can create unique coffee experiences tailored to your personal preferences.
Adding different flavors to the beans, such as spices or extracts, can create a truly unique flavor profile. Additionally, blending beans with different origins and roast levels can result in exciting and unexpected taste combinations.
Don’t be afraid to get creative and explore the endless possibilities that home coffee roasting has to offer. As you experiment with blends and flavors, you’ll not only discover your personal preferences but also develop a deeper appreciation for the art of coffee roasting. Embrace the adventure and create your very own signature coffee blend.
Summary
Home coffee roasting is an exciting and rewarding journey that allows you to explore the art of transforming green coffee beans into the perfect cup of coffee. By understanding the importance of selecting quality green coffee beans, mastering various roasting methods, and experimenting with blends and flavors, you’re well on your way to becoming a coffee connoisseur.
Embarking on this adventure will not only enhance your coffee brewing skills but also deepen your appreciation for the intricate process behind every cup of coffee.
So, go ahead and unleash your inner coffee roaster, and let the aroma of freshly roasted coffee beans fill your home and your heart.
Frequently Asked Questions
Can you roast your own coffee beans?
Yes, you can roast your own coffee beans! Simply place the beans on a baking tray lined with baking paper in a hot oven and turn them regularly. The beans will crack after about 5-10 minutes, and after about 20 minutes they will be roasted to perfection.
How to roast coffee beans perfectly?
To roast coffee beans perfectly, roast fast during the browning phase to bring out natural flavors and acidity, and then slowly to develop more sugars and caramelization. To get an even roast, wait until the beans start to pop like popcorn before ending the roast.
Is it hard to roast coffee beans at home?
Roasting coffee beans at home is not too hard, as you can do it with either an oven or a popcorn popper. It should take 15-20 minutes and you can control the temperature. You can start by preheating the oven or popcorn popper to the desired temperature. Place the beans in the oven or popper and stir them every few minutes. The beans will start to darken and you should be able to hear the first crack somewhere between 5-10 minutes, indicating a solid light roast.
How long do you roast coffee beans for?
For the best tasting coffee, you should roast green coffee beans at a temperature ranging from 180 to 250 °C (356 to 482 °F) for 7-20 minutes. Smaller batches may take around 10 minutes and larger batches can take up to 16 minutes.
What are the different roast levels in coffee roasting?
When it comes to coffee roasting, there are three main roast levels - light, medium, and dark. Each roast level has its own unique flavor and aroma.